This is a guide to solving the 5x5 using G5. This method was developed by Daniel Grabski in early 2018. The goal was to create an alternative method to free-slicing, that improves lookahead, similar to Yau/Hoya. For those who are familiar with Hoya5, the beginning is very similar. Although this method was developed for 5x5, it can be easily adapted to 4x4, 6x6, 7x7 etc.
The following guide will explain all the individual steps involved in solving the 5x5 using G5. I will assume that you already know how center building and edge-pairing works on 5x5. Note that this is NOT a complete beginners guide. Furthermore, I’ll assume you can solve a 3x3. That said, G5 consist of 6 steps:
1. First 4 Centers (F4C)
2. 3 Cross Edges (3CE)
3. Back F2L Pairs (BF2L)
4. Last Cross Edge and Last 2 Centers (E2C)
5. Last 6 Edges (L6E)
6. 3x3 Stage
In the following each individual step will be explained.
1. First 4 Centers (F4C)
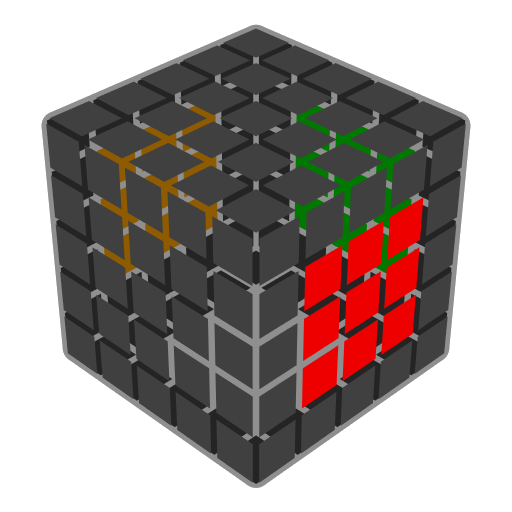
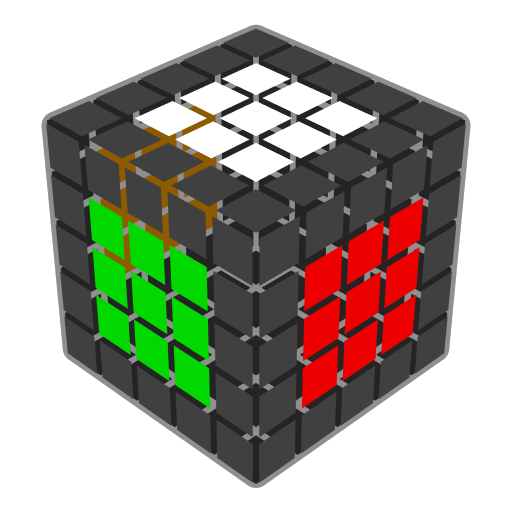
The first step is to build 4 centers, assuming that you normally build your cross on white(on 3x3), then the 4 centers you’ll be building are all except the yellow center and one adjacent to it. Although the order in which you build them can be chosen freely, it is recommended to use the order given here.
1. Any center except white and yellow
2. The opposite center to 1.
3. Another center that is neither white nor yellow
4. The white center
This is what I found is the best order for lookahead and transition to the next step. An example sequence of centers would be: orange, red, blue and white.
2. 3 Cross Edges (3CE)
The next step is to build 3 of the edges containing white (the cross color), the edge that you are building will be the edge in DF (DF = down-front). You hold the cube with yellow on top and the other unfinished centers in front. One of the benefits of G5 is that at this point very few cube rotations are necessary. We will now build the DL, DB and DR cross edges (DL = down-left, DB = down-back etc.).
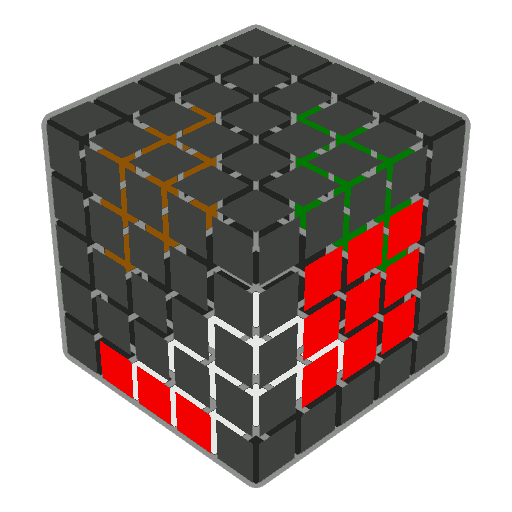
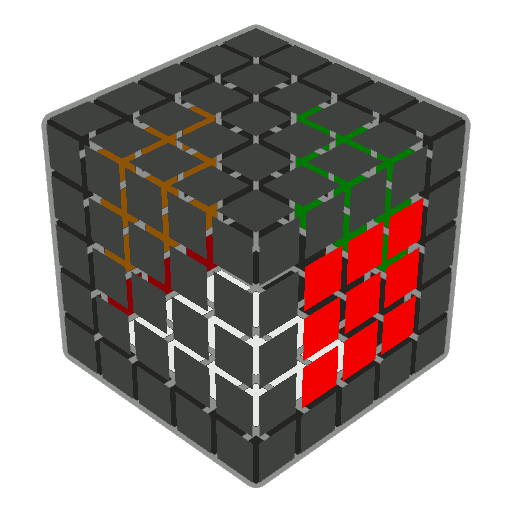
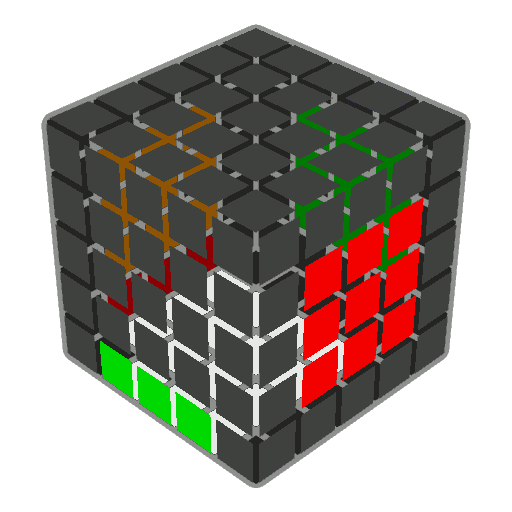


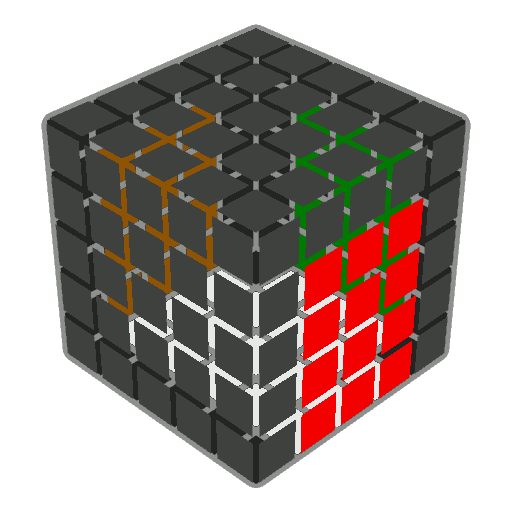
We start by building the DR-edge in the DF-slot. Here it is important to note some things. Any single Layer moves like R, U etc. do not destroy the solved centers. Furthermore, because the F and U centers are not solved yet, we can freely perform algorithms like (Rw U Rw’), (Lw’ U2 Lw), (3Rw U’ 3Rw’) or (4Lw’ U 4Lw)1 without destroying any solved pieces. You should now find a piece that belongs to the DR-edge and bring it to the U-layer. Here you either insert it intuitively in DF, or in some more trickier cases use one of the following algorithms to insert the edge-piece:
Right inserts:

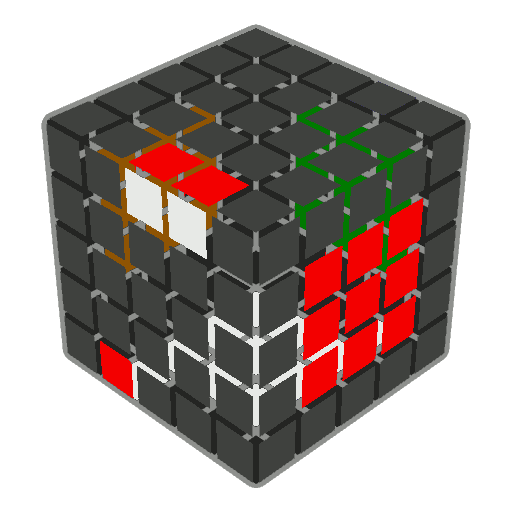
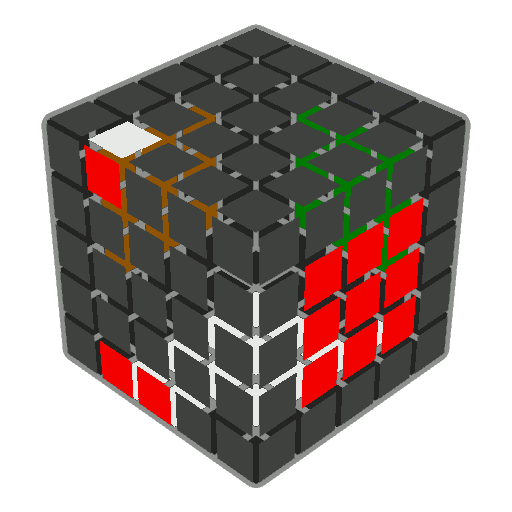
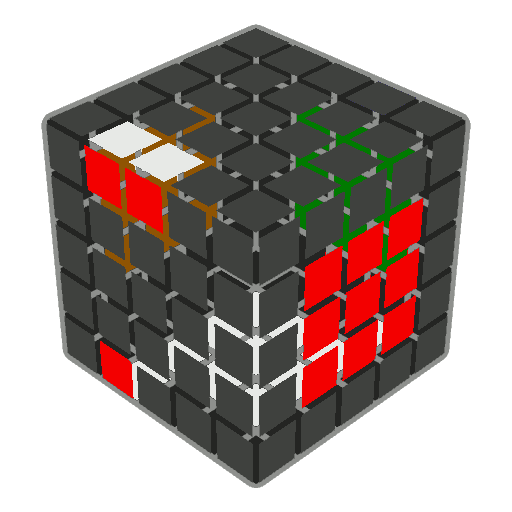
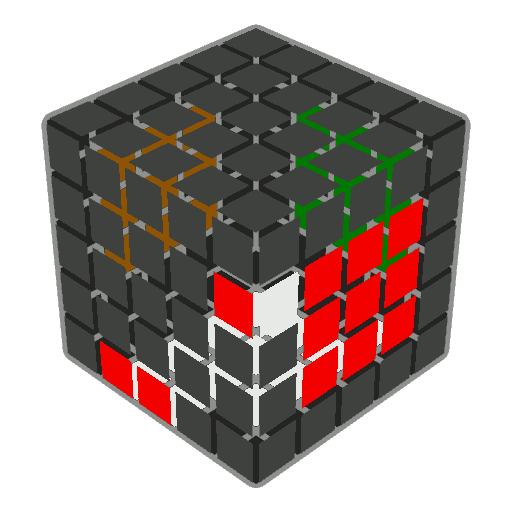
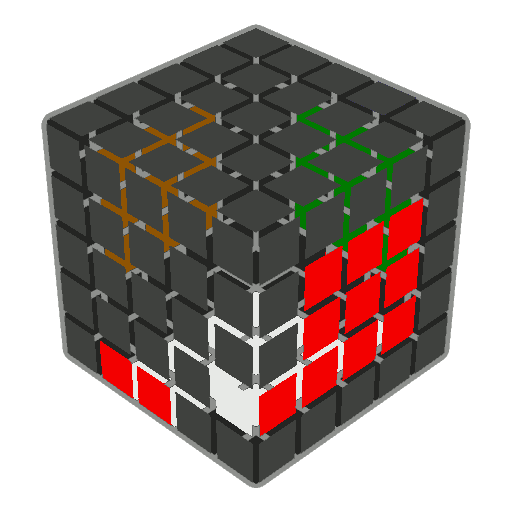
Left inserts:
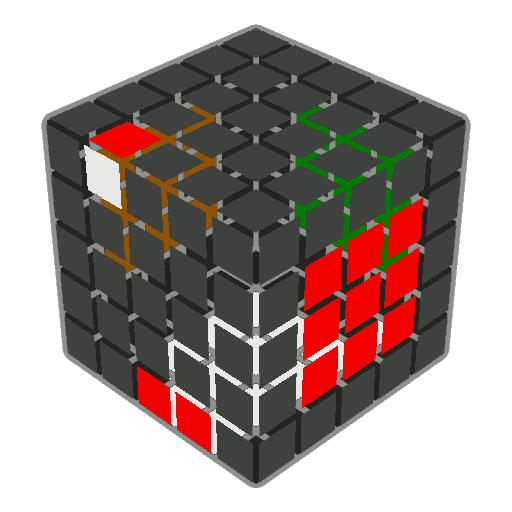
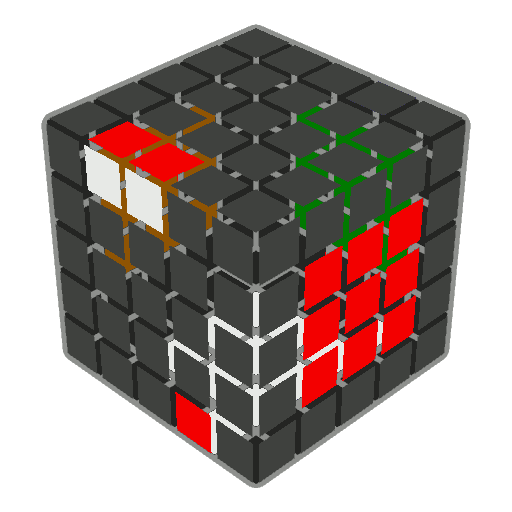
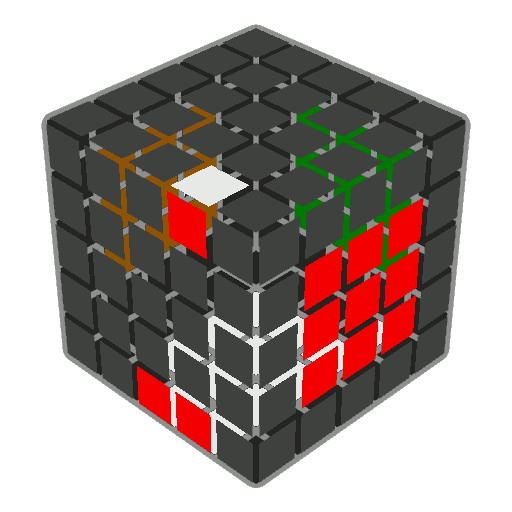
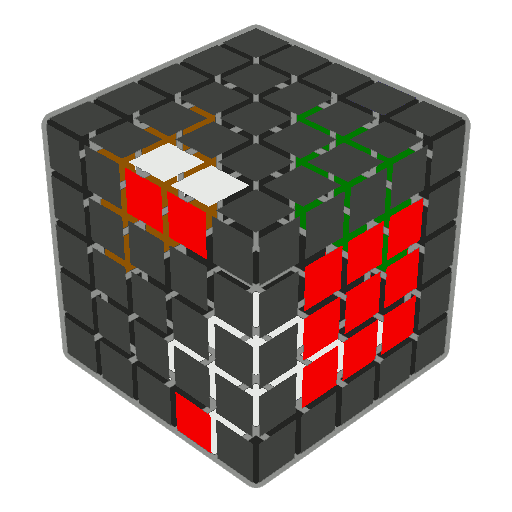
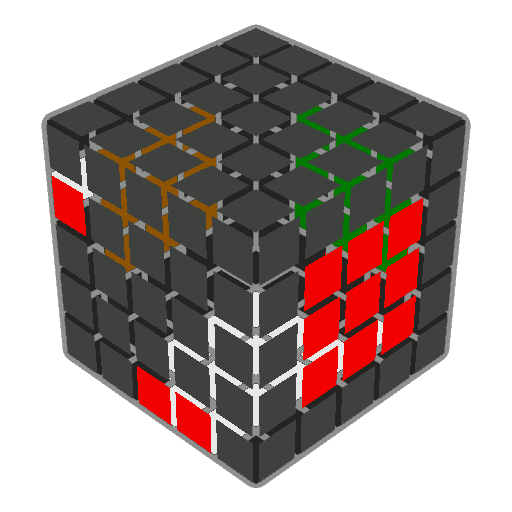
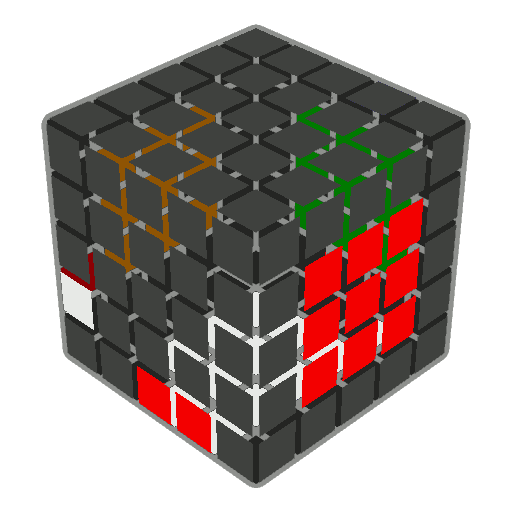
Middle inserts:
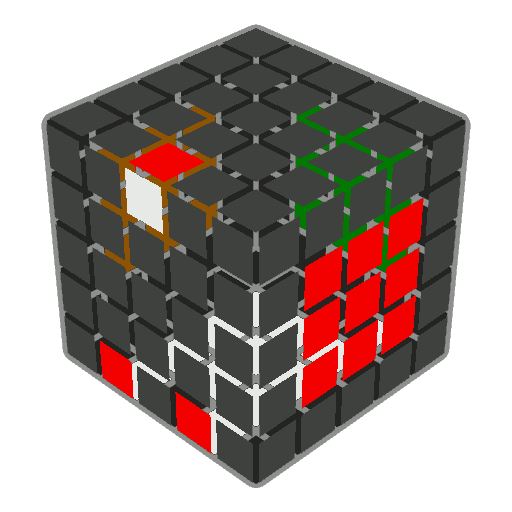


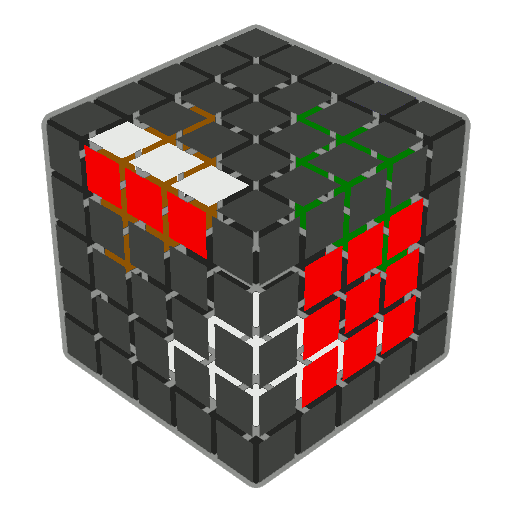
After you have finished inserting all the pieces to the DF-slot make a D’ to move the solved edge out of the way. Now proceed with the next edge (the DB-edge) and insert the individual pieces to DF, additionally you have to be a bit more careful so that you don’t destroy the edge that is currently in DL. Similarly, you do this for the next edge, the only thing that really changes is that when you take out edges, you have to be careful not mess up the already made cross-edge. Then after you solved the DB-edge in DF do another D’ to move it out of the way and continue with the last edge, the DL-edge. Again, be careful not to destroy the edges currently in DL and DB. Finally, after solving the last edge, finish by doing a final D’ move. Now all cross edges, except the DF-edge should be solved and in their correct spot.
3. BF2L, Back F2L (BF2L)
The following step is easy to learn but hard to perform smoothly. The goal of this step is to solve both back F2L pairs, meaning the BL and BR-edges with their corresponding corner-pieces (the BDL and BDR corner). It doesn’t matter which one you solve first, just pick the one where you see some edge-pieces. The way you solve the back-edges is similar to the previous step (3CE), first you solve the edge-piece (without its corner) in the DF-slot, then you insert it with some "F2L-tricks" in the back-slot.
You can insert the edge in the DF-slot in two orientations. Althought both would work, one results in very easy F2L-tricks afterwards, so it is strongly recommended to choose that orientation. Both back-edges share a common color (the color of the back-center), when inserting the edge in DF you should insert it so that that color is on the F-face (not the D-face). After all the pieces are inserted in the DF-slot you find the corner-piece that belongs to that F2L pair and insert it either intuitively or with one of the algorithms below. Then repeat the same thing with the other F2L-pair.
Right inserts:
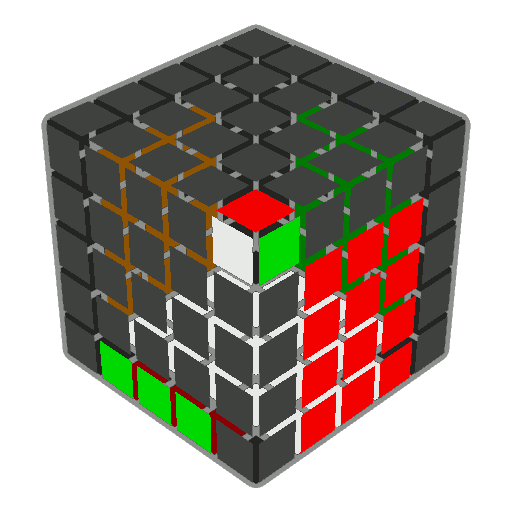


Left inserts:
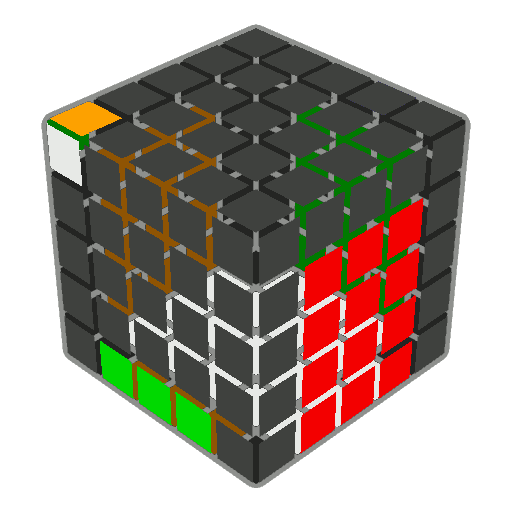
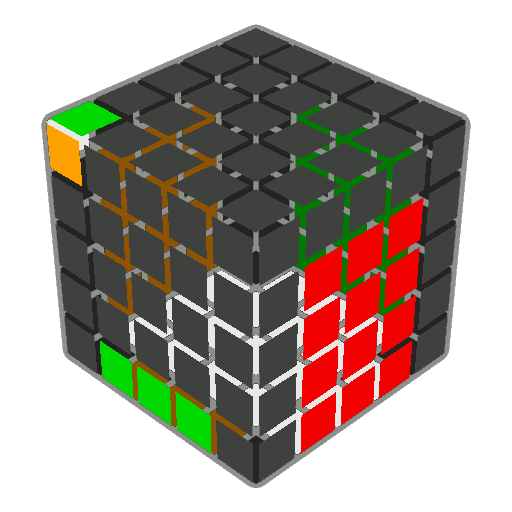
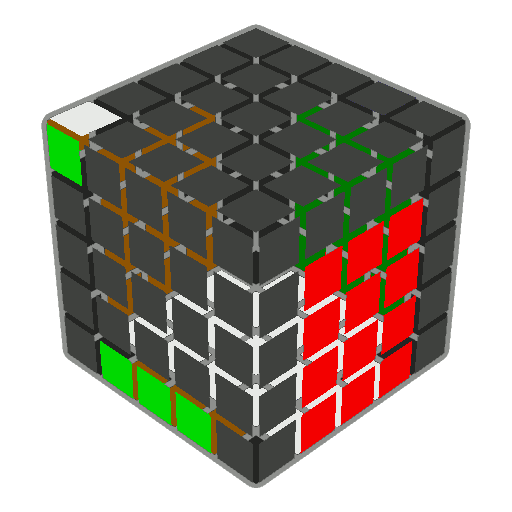
Now you should be left with a cube where all the unsolved pieces are either in the U or F-layer.

4. Last Cross Edge and Last 2 Centers (E2C)

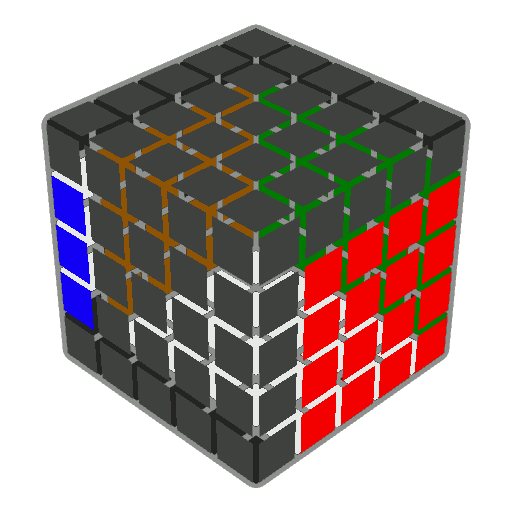
After that we have to fix the unsolved centers without destroying anything else. First move the solved cross-edge out of the way by doing a F move.
This allows you to perform (R U R’), (Rw U Rw’), (3Rw U 3Rw’) and similar algorithms, F-moves are also possible but you always have to move the cross edge out of the way, (L F L’) would be de equivalant to an F-move (those sequences are only the same because we are solely interested in the unsolved centers and not in the edge or corner-pieces). Due to our cross-edge being hidden in the FL-spot we can’t do something like (Lw’ U Lw), but we can do (Lw’ L U L’ Lw) which is the same regarding the unsolved centers. The rest is fairly intuitive, but as a general way of solving the centers you can do the following:
1. Make a 1x3 bar in the F-layer including the center
2. Build a 1x3 bar on the U-layer and insert it next to the bar from step 1 in the front-layer. (preferable left to it)
3. Make the last 1x3 bar in the U-layer and insert it in the F-layer
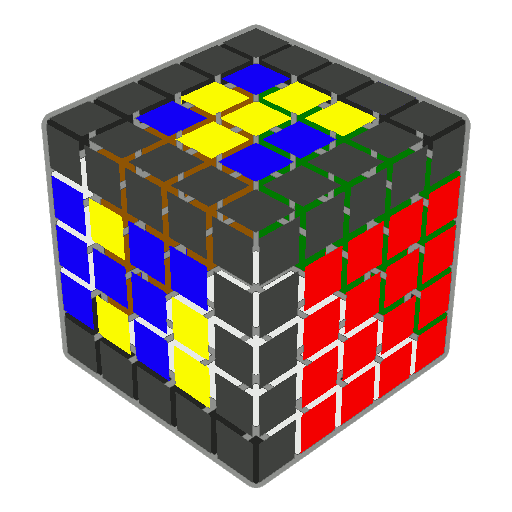
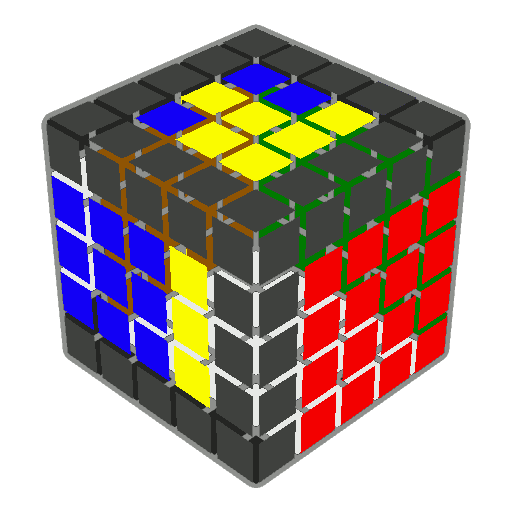
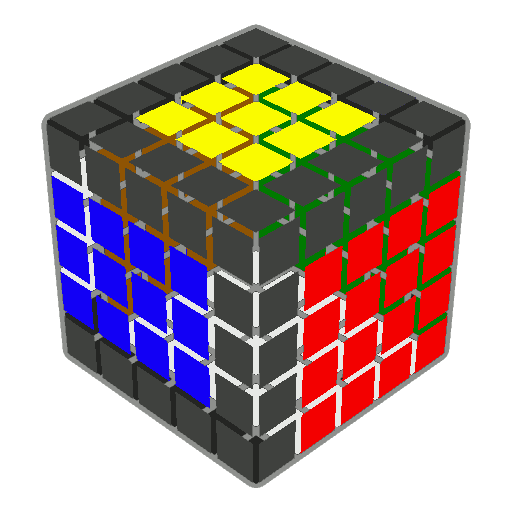
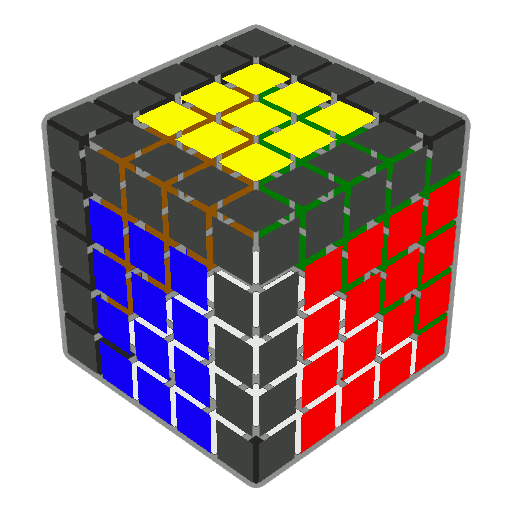
After you have successfully fixed the centers, the only thing left to do is an F’ to put the cross-edge back where it should be.
5. L6E, Last 6 Edges
In this step you pair-up all the remaining edges. Since all the unsolved edges are in the U-layer or in FL, FR, meaning you can see all of them without any cube rotations, the lookahead is greatly improved. If you are familiar with double-edge-pairing this step should need no further explanation. If not, the general idea is as follows:
1. Look at the top edge-piece of the FL-edge and look for its corresponding center-edge-piece, put it in the FR-slot so that Uw’ would connect them correctly.
2. Now look at the top edge-piece of the just inserted FR-edge and look for its edge-center-piece.
3. Make a Uw’ and insert the edge you found in step 2, then undo the slicing with Uw, connecting them both.
This will connect two edge-pieces to their center-edge-piece (double-edge-pairing), if you skip step 2 and just insert any edge, you will only solve one edge-piece at a time. This will work equally well, and it is easier for beginners, but will be twice as slow. Just repeat steps 1-3 until all edges are solved.
Here is an example to illustrate this:


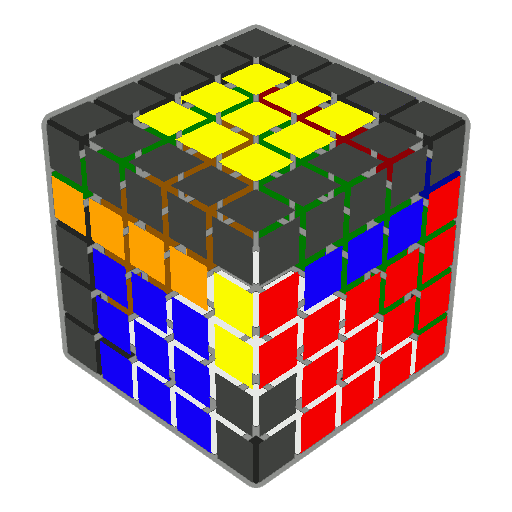
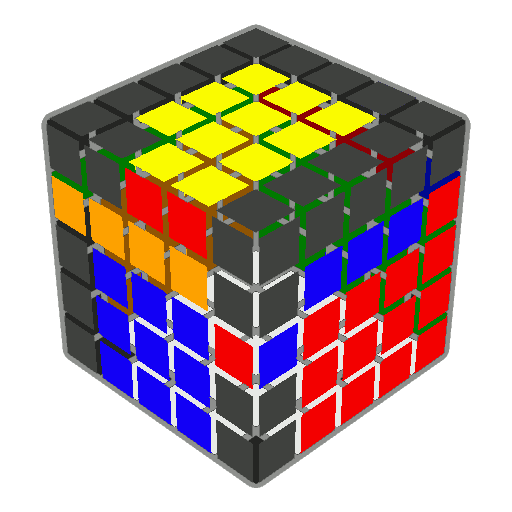
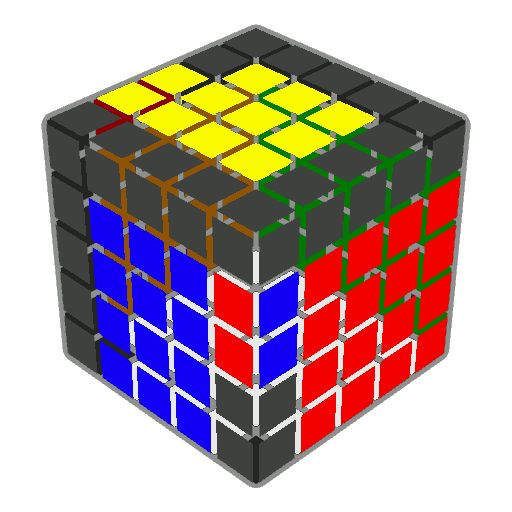
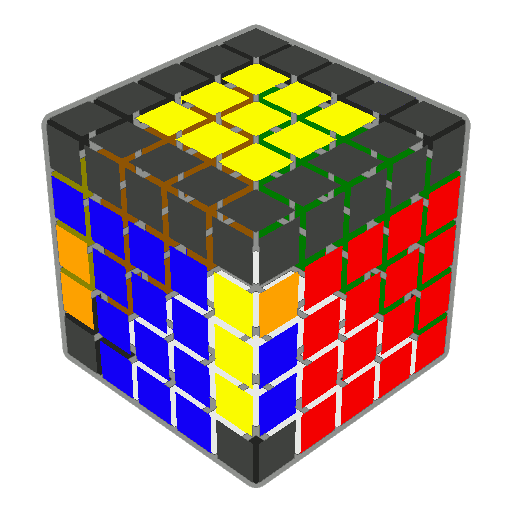
If you encounter the 5x5-parity only two edge-pieces need to be swapped), insert both edges in FL and FR, then do the following algorithm:
Parity:
6. 3x3 Stage
After the last step the cube is almost solved. The only thing left to do is the 3x3 stage, which consists of only 2 F2L-pairs, OLL and PLL.
Conclusion
Whether this method is better than other methods currently in use is to be seen. While maybe not being the fastest method, it is an alternative that some people might prefer. I personally switched completely to this method, not only for 5x5 but for 6x6 and 7x7 as well. My free-slicing lookahead was terrible and my times decreased by using G5. I recommend trying it for a while, you might like it.
References
Images generated using Visualcube: http://cube.crider.co.uk/visualcube.php
